How to Deploy a Machine Learning Application with Gradio?
January 5, 2023 • 3 min readGradio is a free and open-source Python library that enables you to create an easy- to-use, customizable demo of your machine learning model that can be accessed by anyone. Gradio provides a user interface for various machine learning projects such as sketch recognition, question answering, and image segmentation. When a Gradio project is run, it generates two links: a local URL and a public URL. Clicking on either of these links will bring up the interface generated by Gradio.
Installing Gradio to the Project Environment
1) Creating Conda Environment
To install Gradio using the Anaconda Prompt, run the following command: "pip install gradio". The version of Python you use is up to you, but Gradio requires Python 3.7 or higher. When prompted with the question "Proceed?", type "y" to continue the installation.
conda create -n [name_of_the_environment] python=3.9
2) Activating Conda Environment
After creating a new environment, you need to activate it in order to install external libraries such as Gradio. To do this, run the following command:
conda activate [name_of_the_environment]
3) Installing Gradio Library
Once you have activated your conda environment, you can install Gradio like any other external library. To do this, run the following command:
pip install gradio
Importing to the code
To access the features of Gradio in your code, you need to import it using the following statement:
import gradio as gr
To use the features of Gradio, you can add a dot (.) after the "gr" import and access them in your code.
Interface and Parameters
gr.Interface(fn=sketch_recognition, inputs="sketchpad", outputs="label", title="Gradio Application", live=True, article=__ARTICLE_CONTENT__).launch(share=True)
fn: Callable. Takes a sketch image as an input parameter and displays the return value of the function on the output screen.
inputs: str | IOComponent | List[str | IOComponent] | None. It determines how the input is taken from the user. In this case, we have chosen to use a "sketchpad" as the input for our machine learning model, which predicts a single positive digit from a sketch.
outputs: str | IOComponent | List[str | IOComponent] | None. It determines how the output is presented to the user. As our machine learning model predicts a single positive digit from a sketch, we have chosen to use a "sketchpad" as the output method.
live: bool. If the "True" option is selected, the prediction will be made while the user is sketching. If "False" is selected, the user must click a button to see the prediction. We preferred the "True" option because it has a more visually appealing appearance.
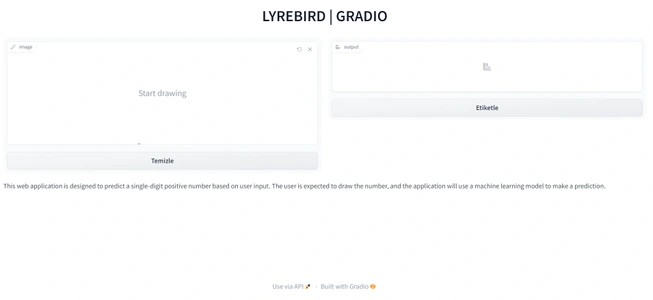
title: str | None. The string appears at the top of the page as a bold title. We have chosen to use "LYREBIRD | GRADIO" as the title, which represents the name of our group badge and the name of the library, respectively.
article: str | None. This string appears under the page and provides information to the user. Instead of writing out the entire text, we have chosen to use a variable to represent it.
Output
Upon successful execution, you will see output similar to the following in the console. The application takes approximately 3.5 seconds to generate the output. The public URL will expire after approximately 72 hours.

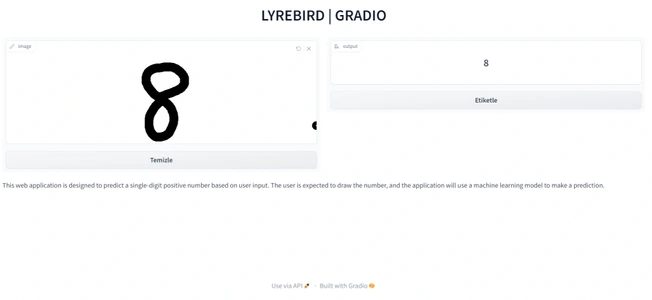
The image below shows the user interface of a Gradio application in action. The application prompts the user to draw a single digit number in the left text area. Since the live attribute is set to "True", the application will simultaneously predict the result in the right text area.

Example Prediction
